Introduction – Why Breaking in Boots the Right Way Matters
One of the most common mistakes new hikers make is wearing brand-new hiking boots on a full trail without taking time to break them in. While it might seem like a minor oversight, the result is often painful blisters, sore arches, and a shortened hike.
Improperly broken-in boots can lead to friction, hotspots, and even long-term foot fatigue. Blisters and pain not only affect comfort but also trail safety and enjoyment.
This guide is designed to help you break in your hiking boots the right way—safely and gradually. Whether you’re planning a weekend day hike or a backcountry adventure, these tips will help ensure a comfortable journey from mile one.
For high-quality, affordable trail footwear for the whole family, browse the latest collections at northsideusa, a trusted brand for reliable outdoor gear.
Choose the Right Fit From the Start
Sizing for Long-Distance Comfort
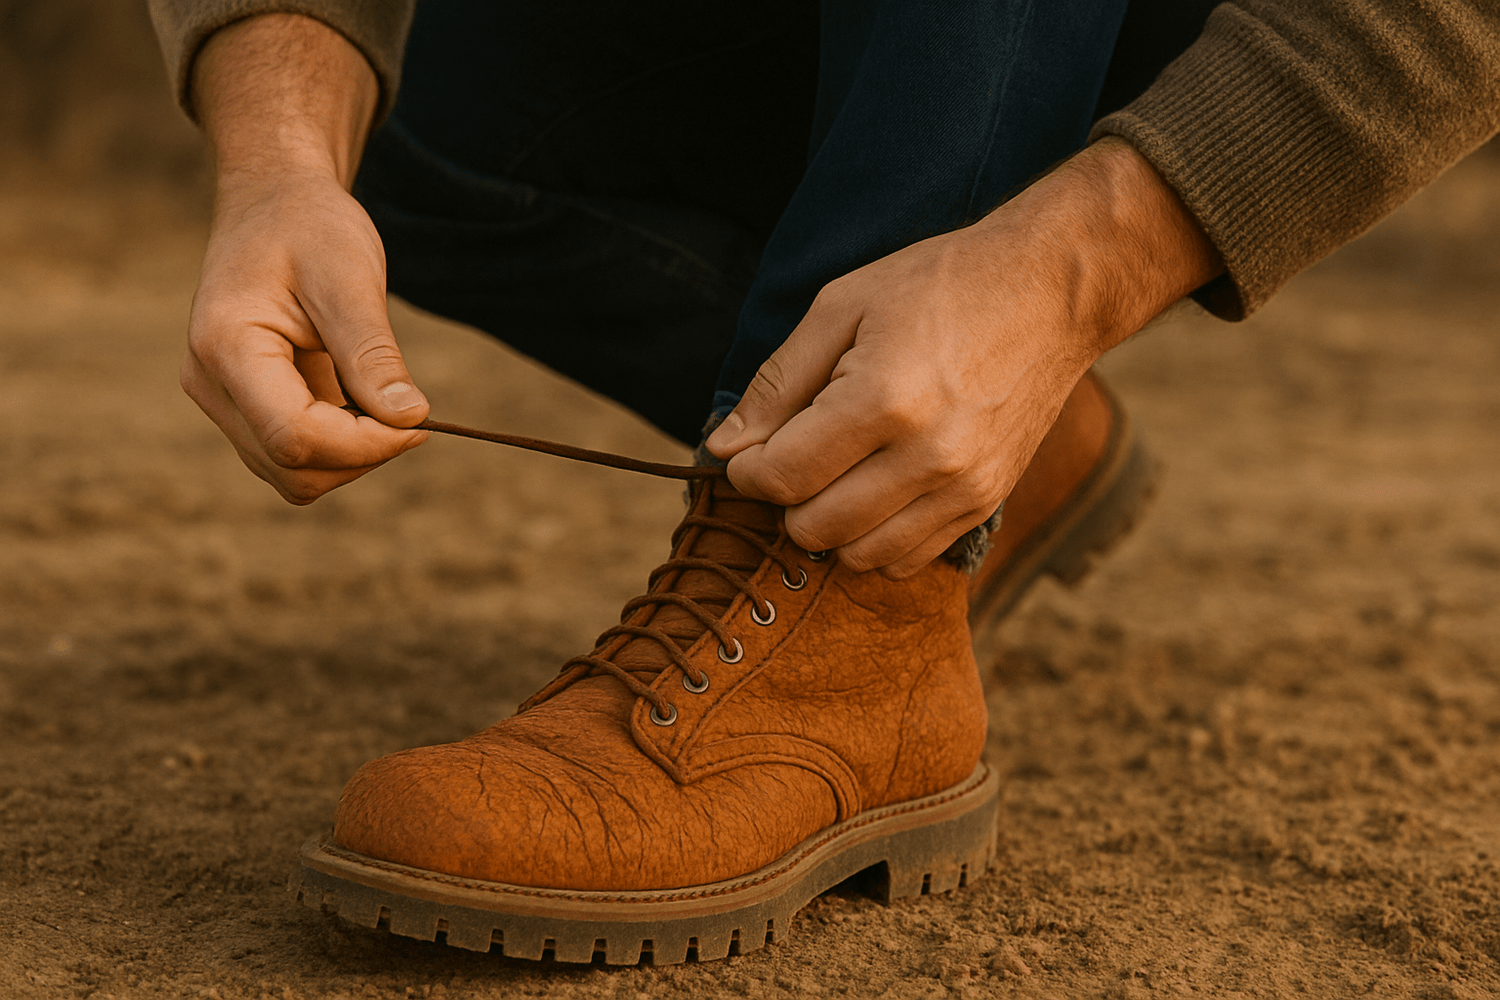
The break-in process is only effective if the boots fit well to begin with. A properly sized hiking boot offers toe wiggle room, a snug heel, and support around the ankles.
Heel Lift, Toe Wiggle Room, and Ankle Support
When you try them on, there should be no noticeable heel lift while walking. Your toes should not touch the front of the boot, even on downward slopes. And around the ankle, the boot should feel secure but not restrictive.
Importance of Trying Boots in the Afternoon
Your feet swell throughout the day. For a true-to-trail fit, try on boots in the late afternoon or evening when your feet are at their largest.
Pick the Right Socks and Insoles
Why Socks Matter More Than You Think
The right socks reduce friction and wick moisture, helping to prevent blisters during the break-in period. Avoid cotton, which retains moisture and causes friction.
Wool vs. Synthetic Socks
Merino wool is naturally odor-resistant and moisture-wicking. Synthetic socks dry faster and offer better durability in humid conditions. Try both to see what works best for your hiking style.
Using Sock Liners to Reduce Friction
Thin sock liners worn beneath thicker hiking socks provide an extra layer of protection, reducing friction between your foot and the boot.
If you're preparing younger hikers for their first adventures, Northside offers durable and supportive kids hiking boots designed for comfort and safety.
Start Indoors: Light Use Around the House
Wear your hiking boots at home to begin breaking in the materials gradually. Doing household chores or walking up and down stairs mimics trail conditions gently.
Wear them with your usual hiking socks and even try a lightly loaded backpack. This helps reveal any hotspots early on so you can address issues before hitting the trail.
Move to Short Outdoor Walks
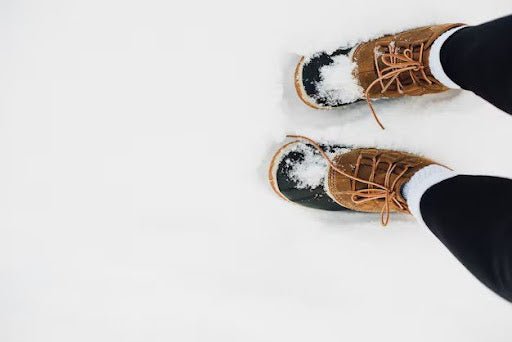
After several days of indoor use, take your boots outdoors for short walks. Choose mixed terrain like sidewalks, gravel, and light trails.
Gradually increase your walking time from 15 minutes up to an hour over a week or so. This flexes the boot materials and gives your feet time to adjust without pressure or strain.
Test on Day Hikes
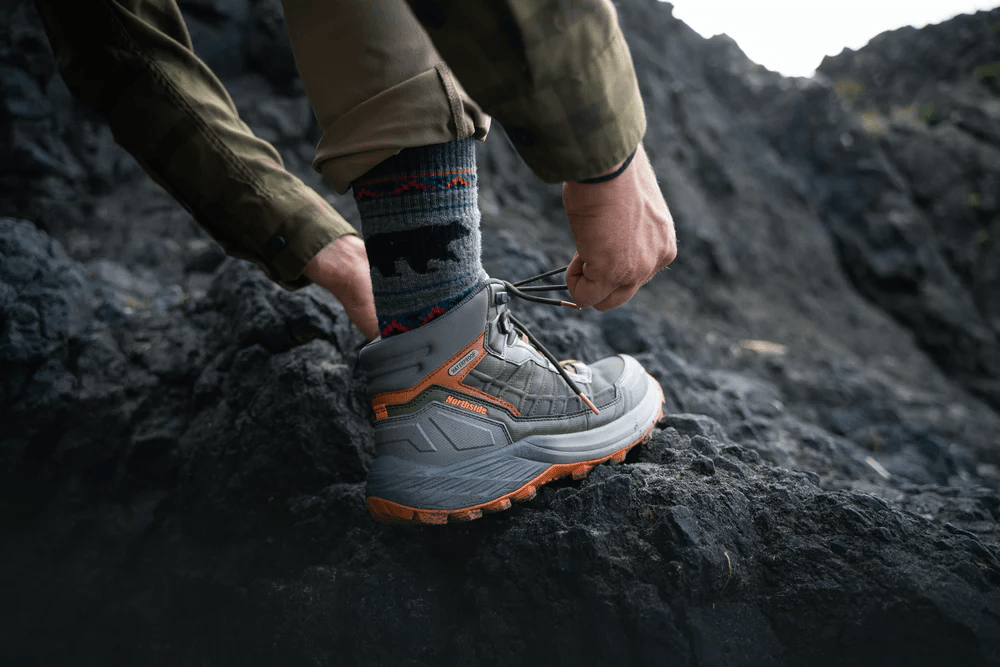
Once your boots feel comfortable on short walks, take them on short hikes (2–3 miles) with a light backpack. This exposes your boots to trail conditions and helps shape them to your stride.
Bring blister prevention supplies like moleskin or tape. Pay attention to how your feet feel throughout the hike—hotspots or discomfort are signals to adjust socks or lacing techniques.
Stretch Problem Areas (If Needed)
Boot Stretching Sprays or Devices
Use boot stretching sprays or wooden stretchers to loosen tight spots. These work especially well for leather boots that may pinch around the toes or sides.
When to Apply Heat (Only for Leather)
Leather boots can be softened slightly using low heat, such as a hair dryer on the outside. Be careful not to overheat or damage the material.
DIY Stretching Techniques
Stuffing your boots with thick socks or rolled-up towels overnight can help ease pressure zones. This works best when combined with regular wear.
Use Blister Prevention Techniques on the Trail
Lacing Techniques to Reduce Movement
Use advanced lacing methods like the heel lock or surgeon’s knot to hold your foot in place and reduce internal slipping. This minimizes heel lift and toe impact.
Applying Foot Powder or Balm
Apply anti-chafing balm or foot powder before your hike, especially on known friction areas. These reduce moisture and skin irritation.
Keeping Feet Dry and Clean
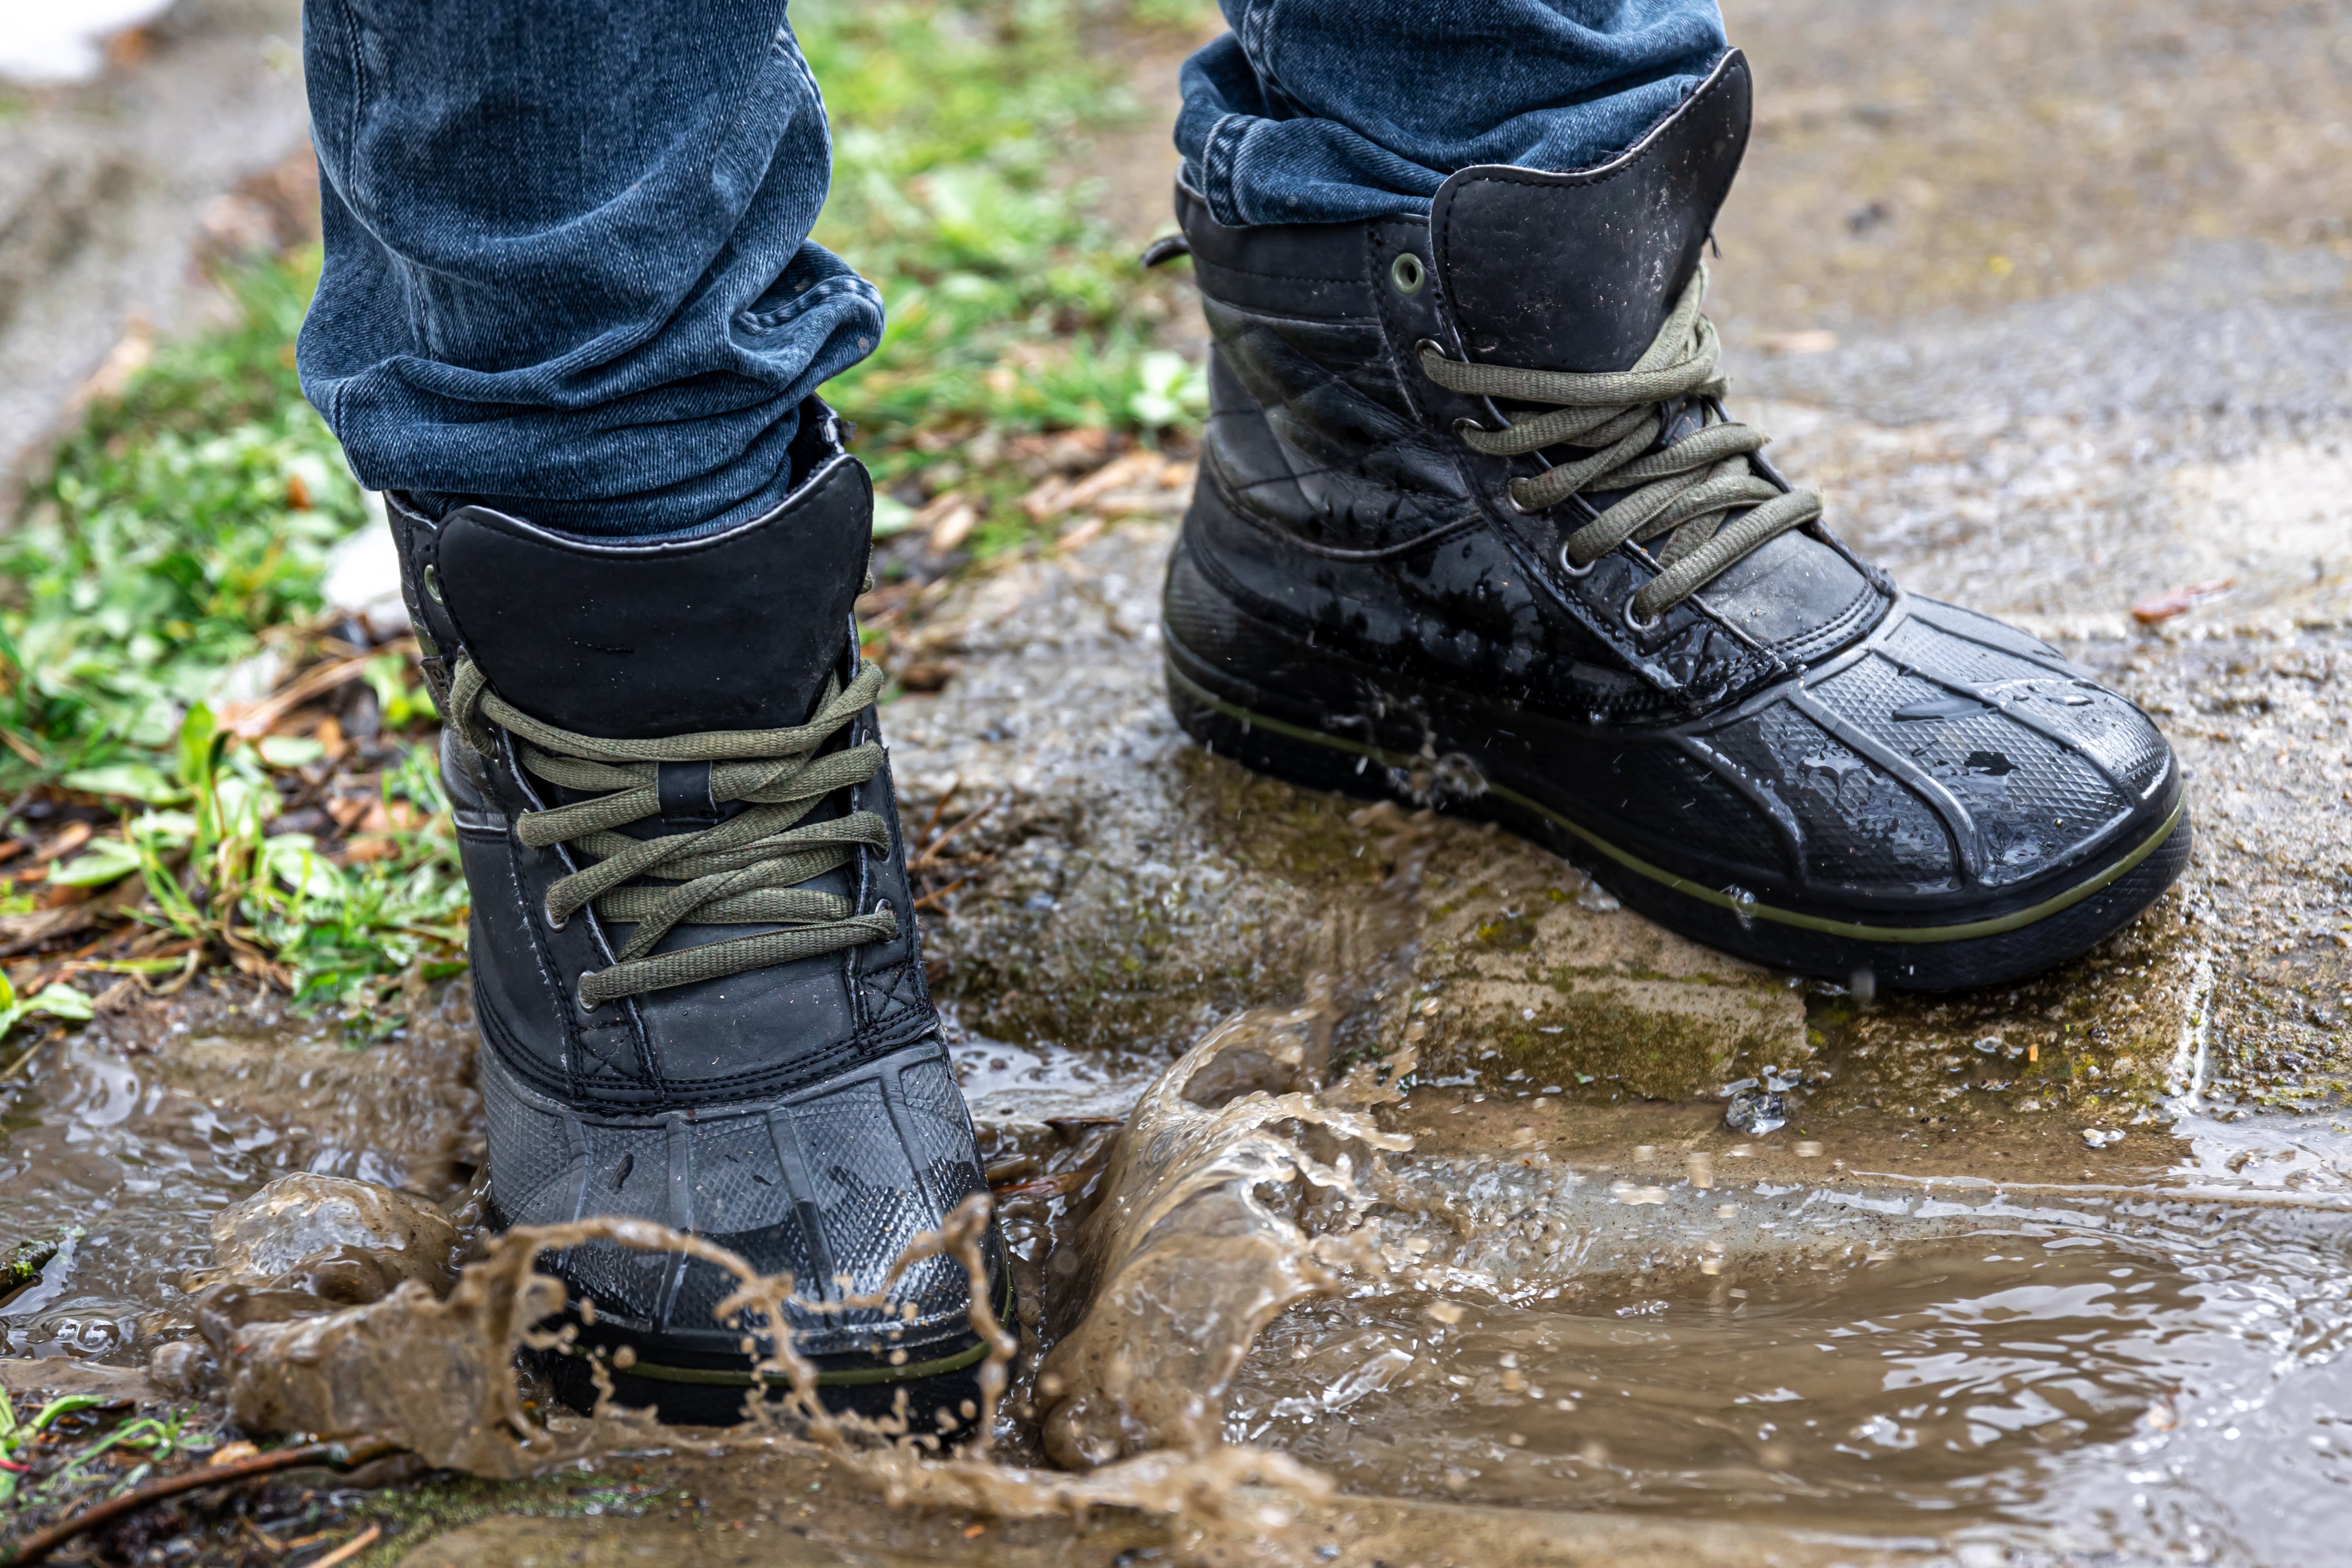
Wet socks are blister magnets. Bring a second pair of socks on longer hikes and let your feet dry during breaks. Keep your boots aired out between hikes.
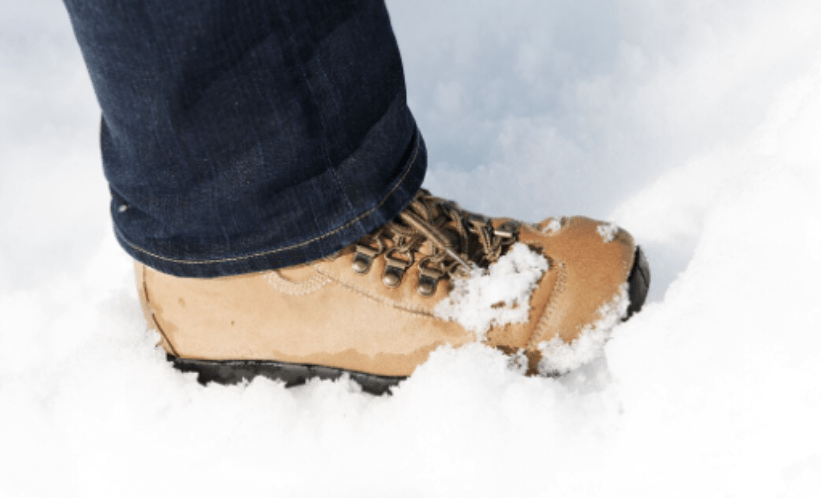
If your trail adventures include wet or muddy conditions, consider upgrading to waterproof hiking boots that keep your feet dry and comfortable in all environments.
How Long Does It Take to Break in Hiking Boots?
|
Boot Type |
Break-In Time Estimate |
|
Synthetic boots |
1–3 short hikes |
|
Leather boots |
1–2 weeks of wear |
|
Full-grain leather |
2–3+ weeks |
Signs Your Boots Are Broken In
-
No discomfort after long walks
-
Materials feel more flexible
-
Your heel stays locked in place
-
You no longer experience rubbing or hotspots
When You Shouldn’t Keep Trying
If your boots still cause pain or blisters after several hikes and adjustments, they might not be the right fit. Return or exchange them if possible—foot comfort is non-negotiable.
Post-Hike Boot and Foot Care Tips
-
Clean your boots after each hike to remove dirt and moisture
-
Remove insoles and laces to allow air circulation and prevent odor
-
Dry your boots at room temperature—never near direct heat
-
Moisturize your feet post-hike to prevent cracking or chafing
These simple habits extend the life of your boots and help keep your feet healthy on and off the trail.
Frequently Asked Questions (FAQs)
It’s best not to rush. A slow, step-by-step process protects your feet. Accelerating the break-in may cause injury or shorten the boot’s life.
Only apply low heat to leather boots. Avoid soaking boots in water—this can warp them and weaken adhesives.
Persistent discomfort could mean your boots are the wrong size or shape for your feet. Consider aftermarket insoles or exchanging the boots.
Not always. It depends on the boot’s material. Full-grain leather takes longer, while synthetics break in faster regardless of price.
Yes. Hiking shoes are often more flexible and lighter, making them easier to break in. However, they may not provide the same level of ankle support for rough trails.
Conclusion – Take it Step-by-Step for Blister-Free Hikes
Breaking in hiking boots is a crucial step for any outdoor adventurer. From selecting the right fit and socks to gradually increasing your wear time and practicing good post-hike care, each step contributes to long-term comfort and safety.
Still have questions? Don’t hesitate to reach out through our contact page for personalized help from our gear specialists.
Avoid shortcuts. Invest time in the break-in process and pay attention to how your feet respond. The reward is a pair of trail-ready boots that feel like an extension of your body supportive, protective, and comfortable.
Start your next adventure with confidence, knowing your boots are ready to go the distance.
Leave a comment
All comments are moderated before being published.
This site is protected by hCaptcha and the hCaptcha Privacy Policy and Terms of Service apply.